Sprinkler system installation during new construction is a reliable way to protect homes from fire damage. Integrating sprinkler system installation into the building process makes everything smoother and often more cost-effective than retrofitting later. Sprinkler systems in new homes enhance safety by controlling fires early, protecting both property and lives. Builders and homeowners who opt for sprinkler system installation at this stage often find it easier to meet building codes, and sometimes can even build bigger or taller structures. Early planning ensures the system matches the water supply and building design, minimizing complications from the start. While many new homes still lack these systems, including sprinkler system installation during construction significantly boosts fire safety and can make properties more appealing to buyers who value protection.
Sprinkler System Installation for New Construction
Planning New Construction Sprinkler System Installation
Planning a sprinkler system installation for new construction means making a bunch of choices about design, parts, water supply, and legal rules. Getting it right the first time keeps things running smoothly and up to code.
System Design and Layout
Design starts by mapping out the whole area you want covered. That means looking at the shape and size of every room or outdoor space. Layout matters a lot.
Sprinkler heads need to go where they’ll cover everything, but you don’t want them overlapping too much or missing spots. Pipe routes should be as straight as possible to keep water pressure steady. The main water line connects directly to the system for a consistent flow. Designers also pick valve spots so you can control water in each zone easily.
A good drawing helps installers get the heads and PVC pipe in the right place on site. They’ll also think about the power supply and how you’ll get into doing maintenance later. Details, details.
Selecting Sprinkler Heads and Components
Picking the right sprinkler heads depends on the space and fire risk. Quick-response heads work for living rooms, while kitchens need something tougher. Valves, pipes, and fittings need to match your sprinkler heads and water supply. Materials should resist corrosion and handle the building’s water pressure. Always use approved parts that meet safety standards. That way, you avoid leaks and failures when it counts.
Calculating Water Pressure and Flow
Water pressure and flow rate make or break a sprinkler system. If you don’t get this right, the system won’t work when you need it most. Measure both static and dynamic water pressure from the main supply. Use that info to pick the right PVC pipe size and sprinkler heads. Balance the flow so each zone gets enough water. Too little pressure means lousy coverage; too much can wreck the components.
Permitting and Building Codes
Before you start, get permits from local authorities. They’ll make sure your sprinkler system installation meets fire safety and building codes. Codes spell out requirements for sprinkler type, spacing, pipe materials, and how you install everything. Stick to the rules to avoid trouble later. Inspections during and after installation check that everything matches the approved plans. Keep your paperwork up to date for future maintenance or changes.
Step-by-Step Guide to Installing a Sprinkler System
Sprinkler system installation takes careful trenching, pipe selection, and solid connections. You’ll need to test everything to make sure there are no leaks and that the system actually works. Every step matters. If you cut corners, you’ll just end up fixing things later.
Trenching and Pipe Placement
Start by trenching where the pipes will go. You want trenches about 6 to 12 inches deep, enough to protect pipes from freezing or getting damaged. Clear out rocks and roots so you don’t puncture the PVC pipe. Lay the pipes according to your system design, making sure every sprinkler head is in the right spot. After placing the pipes, backfill with soil gently. Don’t pack it too tightly. You might need to get back in there someday.
Working with PVC and CPVC Pipes
PVC pipe is the go-to for most sprinkler system installations because it’s durable and easy to use. CPVC works if you need to handle hotter water, but it’s not as flexible. Cut pipes cleanly with a pipe cutter or saw. Clean the ends with a pipe cleaner or sandpaper before joining them. Use PVC cement on both the pipe end and fitting. Push them together and hold for about 30 seconds. Work in small sections to avoid mistakes and leaks.
Connecting Valves and Controls
Valves control water flow to each sprinkler zone. Connect them to the main water supply pipe and hook them up to the timer or control box. Put each valve in a spot you can reach, usually in a valve box just below ground. Use Teflon tape on threads to keep leaks away. Wire the valves to the control box using the manufacturer’s diagram. Use waterproof connectors to keep corrosion out.
Leak Testing and System Flushing
Once everything’s in place, test for leaks and flush the system. Open the water supply slowly and check each connection. Flush the pipes by running water through without the sprinkler heads. This clears out dirt and debris that could clog things up later. After flushing, put on the sprinkler heads and test each zone. Watch for uneven spray or weak water pressure; both mean something’s off. Fix leaks right away by tightening fittings or swapping out bad parts. Don’t skip this step.
Installing Fire Sprinkler Systems in New Construction
Fire sprinkler systems in new buildings need careful selection and installation to meet safety codes. The right type depends on the building’s use, size, and environment. Installation has to follow specific rules and work well with the building’s overall fire protection setup.
Fire Sprinkler System Types
There are four main fire sprinkler system types used in new construction:
- Wet pipe systems have water in the pipes all the time. They go off right away when heat triggers the sprinklers.
- Dry pipe systems use air or nitrogen in the pipes to avoid freezing. Water only flows when sprinklers open.
- Pre-action systems need two triggers before water flows. They’re great in places where accidental water damage would be a nightmare.
- Deluge systems dump a lot of water through all heads at once, good for high-hazard areas.
Each system fits different building needs depending on climate, fire risk, and layout. No one-size-fits-all here.
Installation Requirements and Best Practices
Start with a thorough site evaluation. Experts look at size, ceiling height, materials, and building use to design the right sprinkler system. Installation must follow local codes and NFPA guidelines.
Key steps include:
- Spacing sprinkler heads for full coverage.
- Use corrosion-resistant pipes in humid spots.
- Making sure you can get to everything for inspections and maintenance.
Work closely with construction crews to avoid delays. Installing an automatic sprinkler system is often required and should be part of the plan from the start.
Integrating Fire Protection with Overall Building Safety
Fire sprinkler systems need to work with alarms and emergency lighting. Good signage helps responders act fast. Systems often tie into the building’s fire prevention program for automatic alerts and control. This setup catches fires early and limits damage. Proper installation means the fire sprinkler system fits with the building’s safety plans and doesn’t mess up other features.
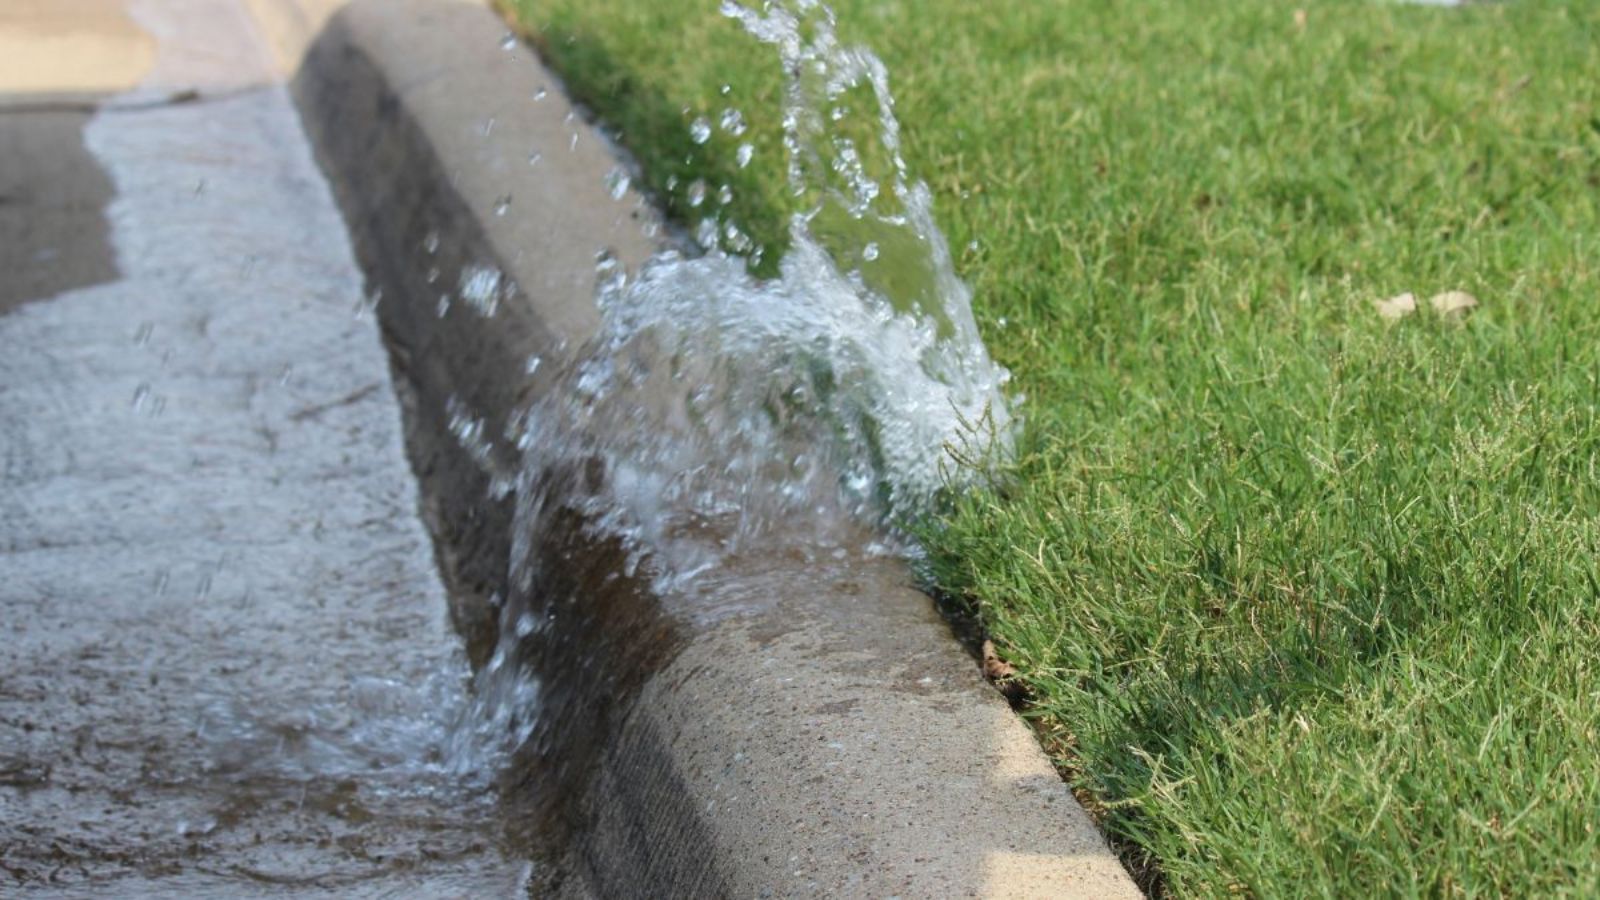
Optimizing System Performance and Ongoing Maintenance
Regular adjustments and checks keep your sprinkler system running well. Managing water pressure, fixing leaks, and checking coverage all help the system last longer.
Adjusting Zones and Coverage
Set up sprinkler zones to match the landscape layout. You want to avoid overwatering or leaving dry patches. Water pressure matters. Test it often to make sure it meets your system’s needs. If it’s too high or low, you’ll get poor coverage or maybe even break something. Adjust zones for different plant types and sun exposure. Shady spots need less water than sunny ones. Timers help control how long each zone runs, so you don’t waste water.
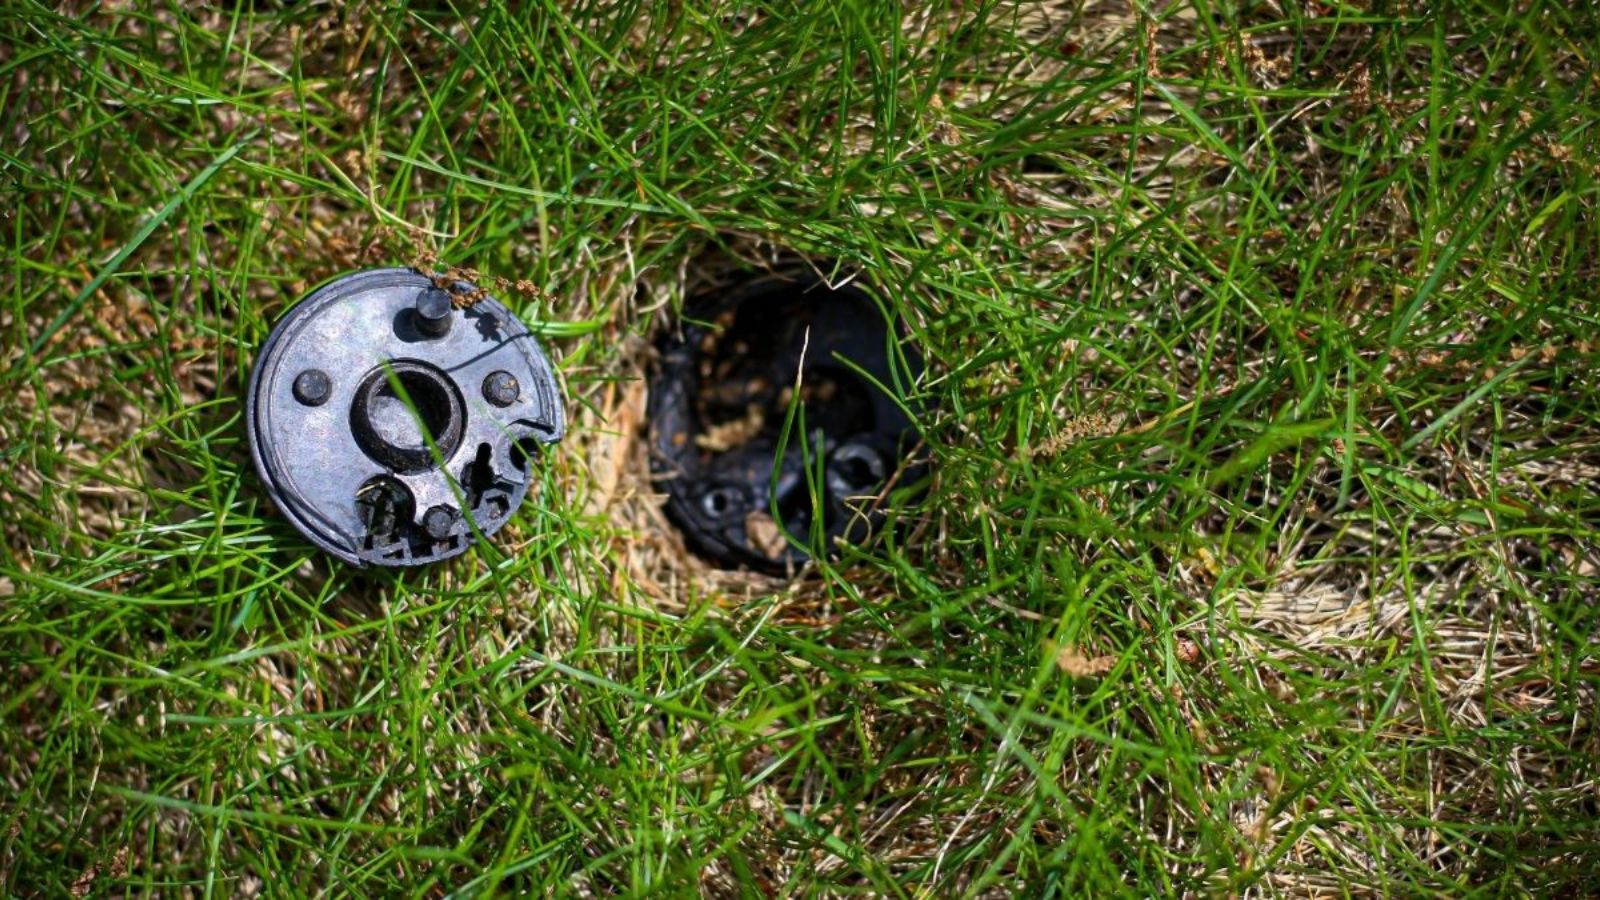
Seasonal Maintenance Needs
Seasonal checks are a must. Before winter, drain or blow out the system to avoid frozen pipes and broken heads. In spring, inspect everything for leaks or clogs. Adjust heads that may have shifted over winter or from settling soil. Test water pressure and run a leak check every season. Clean filters and check controller settings to keep things smooth.
Troubleshooting Common Issues
Leaks are common and can drop your water pressure. They usually appear at joints, valves, or broken heads; fix them quickly. Uneven watering or dry spots mean heads might be misaligned, clogged, or that water pressure is off in some zones. Adjust heads and clear blockages to fix it. If you see low water pressure, you might have a leak, clogged pipes, or maybe just too much demand on the system. Run a pressure test to find the weak spot and repair it. Regular checks keep small problems from turning into big ones.
Frequently Asked Questions
What are the key steps in planning a sprinkler system layout for a new home construction?
Start by measuring lawn and garden areas carefully. Group plants by water needs and avoid gaps in coverage. Always factor in water pressure and flow for even watering.
How do you choose the right sprinkler heads for different lawn areas?
Sprinkler heads come in different spray patterns and ranges. Rotor heads work for big open spaces. Spray heads are better for small, packed areas. Match heads to plant type and spacing to avoid overwatering or dry spots.
What is the estimated cost range for professional underground sprinkler system installation?
Costs usually run $2,000 to $4,500, depending on lawn size and system complexity. More zones or smart controllers bump up the price. Labor and materials are typically included in quotes.
What are the typical considerations for zoning and controlling a residential sprinkler system?
Zones split the system into manageable areas, often by plant type or sun exposure. Good zoning means better watering schedules and less waste. Controllers, manual or automatic, help you set watering times and durations.
Can you self-install a sprinkler system, and what expertise is required to do so?
You can install a sprinkler system yourself with some plumbing and electrical know-how. You’ll dig trenches, connect PVC pipe, and program controllers. Planning and following instructions helps you avoid leaks or system failure. And don’t forget to turn off the water before you start messing with pipes!
What are the main components required for a complete in-ground sprinkler system setup?
For a proper sprinkler system installation, you’ll need several key parts. PVC pipe forms the backbone of the system, running water to the different zones. Sprinkler heads distribute water evenly across your lawn. You’ll also need valves since they control the water flow to each area.
Don’t forget the backflow preventer; it keeps your water supply safe from contamination. The irrigation controller automates when and how long you water, which is honestly a lifesaver if you forget things like I do.
Whether you’re tackling sprinkler system installation for new construction or updating an old setup, remember to turn off the water before you start. Also, check your water pressure and space your pipes at least 12 inches apart for optimal performance.
Pioneer Underground Lawn Sprinklers | Sprinkler System Repairs and Maintenance Omaha, NE
Transform your landscape into a vibrant, worry-free lawn with a professionally installed sprinkler system from Pioneer Underground Lawn Sprinklers.
Whether you’re starting fresh with new construction or upgrading an existing setup, we’ll guide you from design to installation, and provide seasonal maintenance to keep your system performing at its best. Serving Omaha and nearby Nebraska communities, we take pride in helping homeowners and businesses achieve healthier, greener lawns year after year.
Contact us today and get started today with a free on-site estimate from Omaha’s trusted irrigation specialists. Call 402-934-7900 or request your quote online to book your appointment.